| Home | Tools | Parts | Interior | Preparation | Work | Images | Contact |
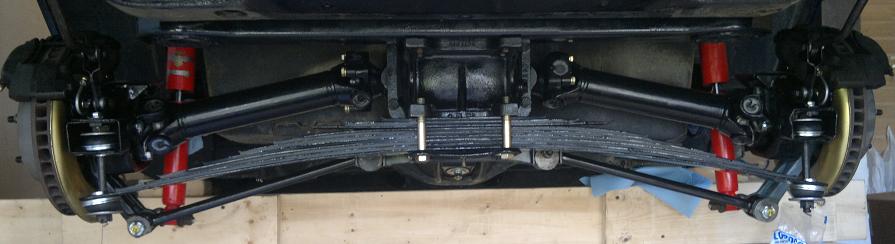
Remove Leaf Spring
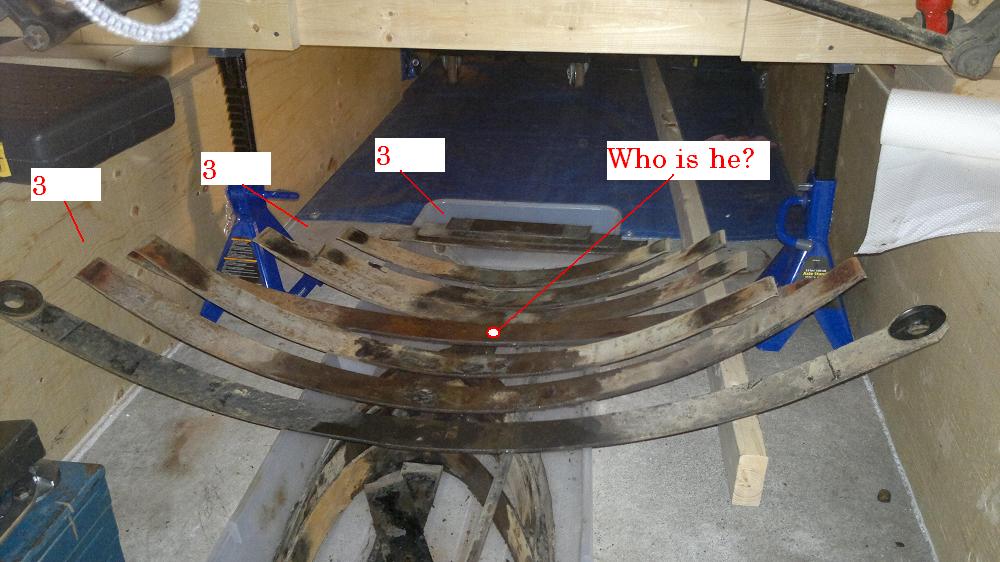
I was a little bit worried when it came to take off the leaf spring. It has got a high tension and I was afraid of breaking bones or crashing the car. But before I started this task I read articles and watched youtube videos about other people doing the same thing. In the end it is very, very important to use a good hydraulic jack to push up the leaf spring to take the tension of the rear spring bolts. The tension was so high that the right side of the car took off of the ramps!
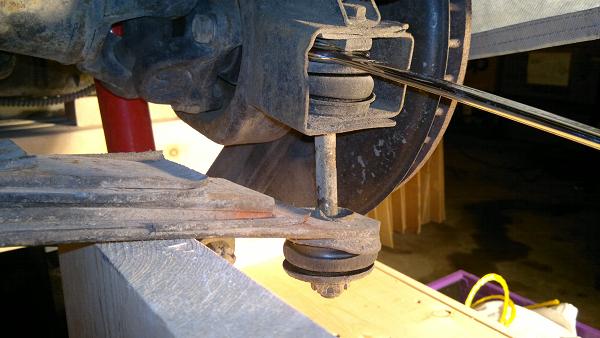
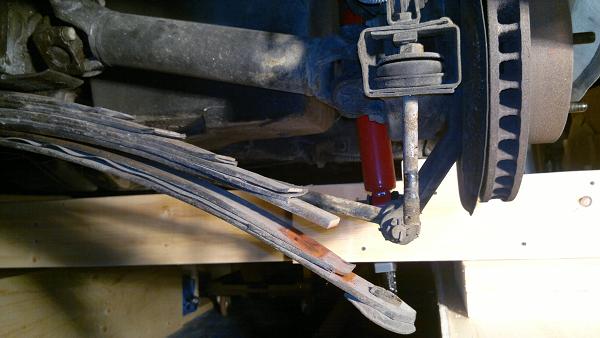
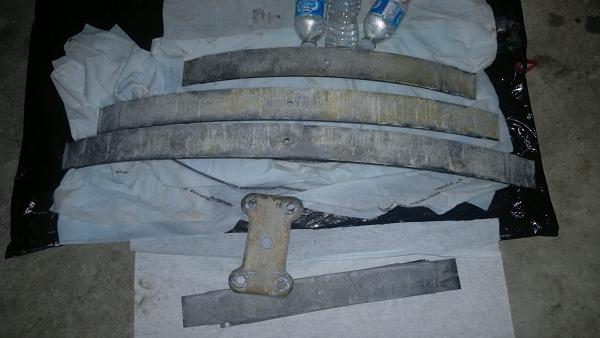
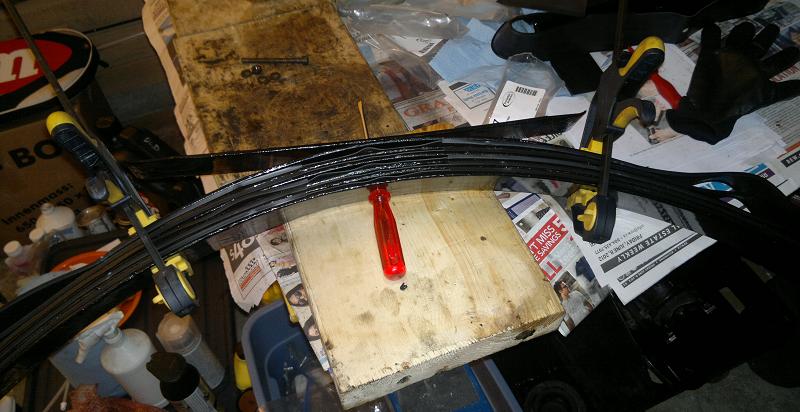
Because the leaf spring is not really a light weight component I also used the jack to hold it up when I realesed the leaf spring mounting bolts. As you can see at the pictures below it all worked out fine and the leafs are very, very dirty and greasy but appart from that in a good condition with just some little rust.
While the jack was holding the leaf spring up the car took off of the ramps!
There it is :-)
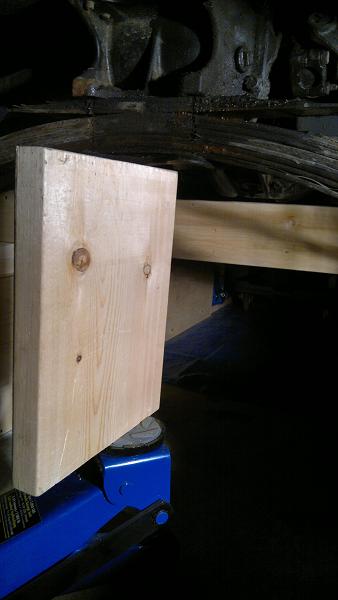
Because the Corvette is very high standing on the ramps I had to use some peace of wood to enable the hydraulic jack hold the leaf spring up:
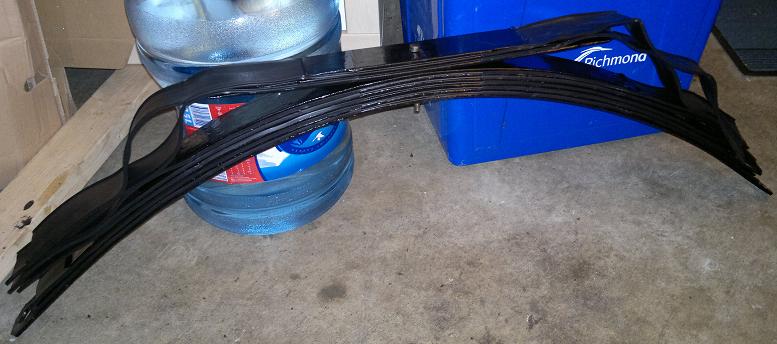
Here they are, all nine leafs ... oh wait, there are ten?! One leaf does not actually belong to that spring package. Click the image to see it!
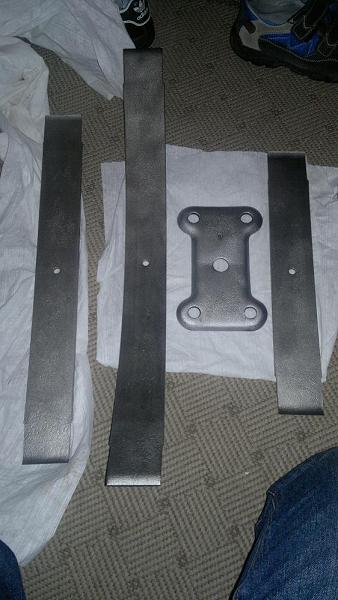
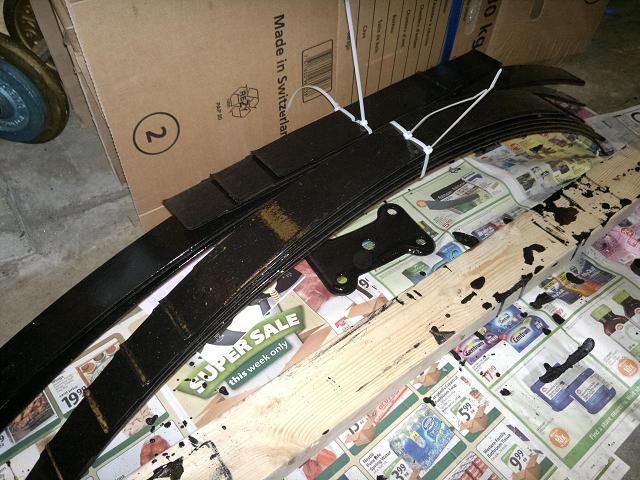
After I got the leafs sandblasted, they looked like new. Later I but POR15 Metal Ready on them, then I painted them black with POR15. What a change!!
When I have finished the rest of the back of the car I will put them back on the car. Until then they will stay tied up together in the garage
Putting the leafs together again including the liners was a bit tricky, I must say...
But I have made it ... luckaly
And it fitted nicely