| Home | Tools | Parts | Interior | Preparation | Work | Images | Contact |
Remove Tank
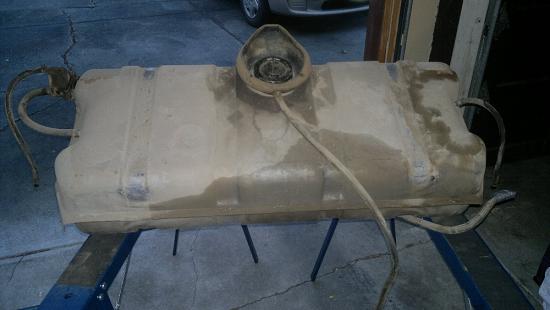
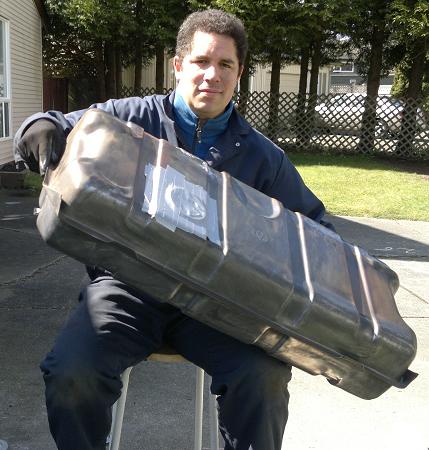
This was really easy! 6 screws, a few fuel hoses to pull off and the tank came down. The only thing I had to prepare was to drain the tank and remove the sway bar. Have a look how the tank looks like
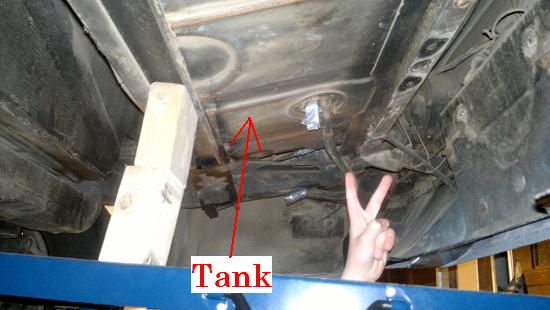
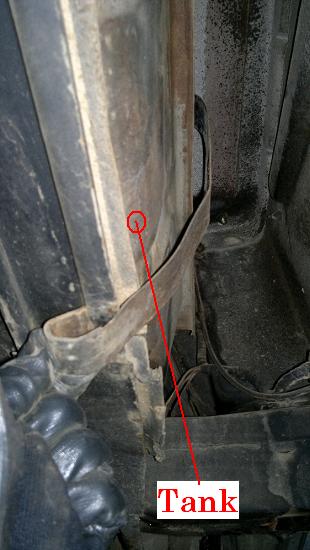
Here are some pictures of parts that hold the tank on the frame. Because I am German I do not know the right English words so I leave it by the pictures
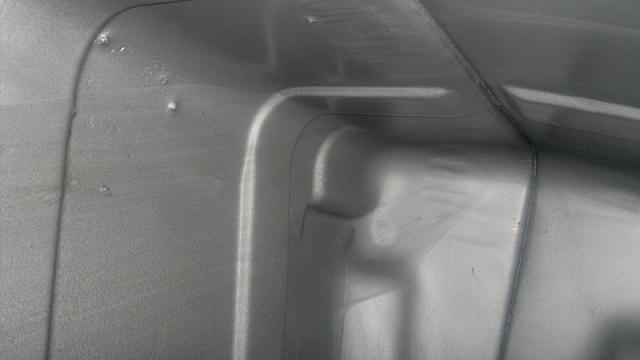
After removing the tank I removed all attached parts. The sending unit, all hoses, the gas tank cap, the filler neck and the filler neck boot. And, I also had a look inside the tank. I shoudn't have done that, it was sobering! I discovered that the tank has been repaired before. There were little holes in it. My first thought was: ok, let's buy a new tnak. Then I looked at the price and decided to repair this one. I have now ordered the POR15 Fueld Tank Repair Kit. I am sure that will help. Here are some impressions of what I have discovered:
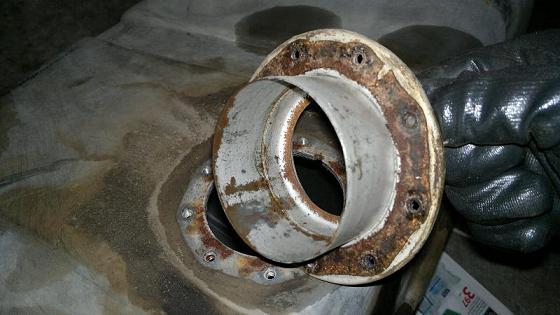
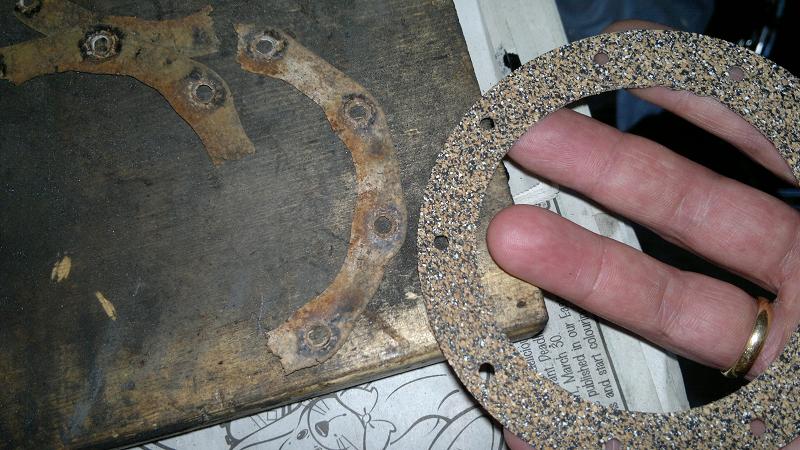
The filler neck with the cork gasket
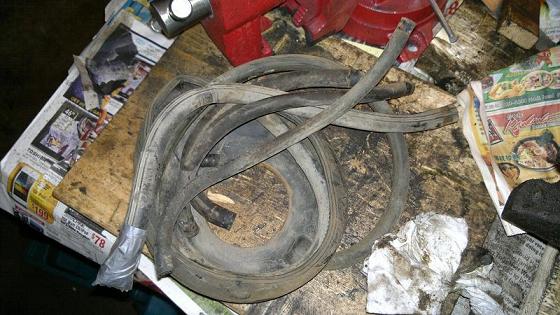
Used, broken and frangible hoses and the filler neck boot. I will have to replace
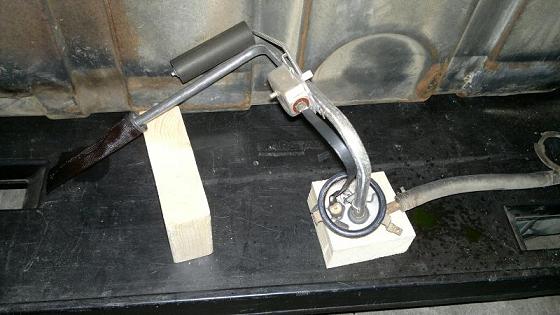
But the sending unit looks pretty good. That will be reused, except for the gasket
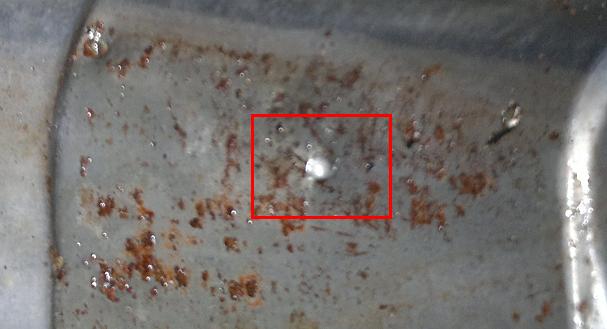
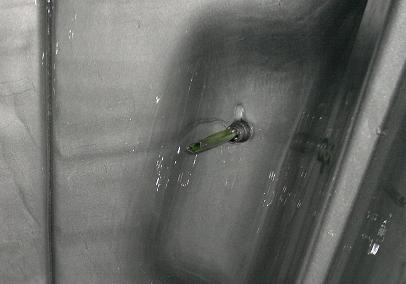
Here comes the picture that hurts. From the inside showing the repaired spot. The little pump is some "repair" metal from the outside (click the image)
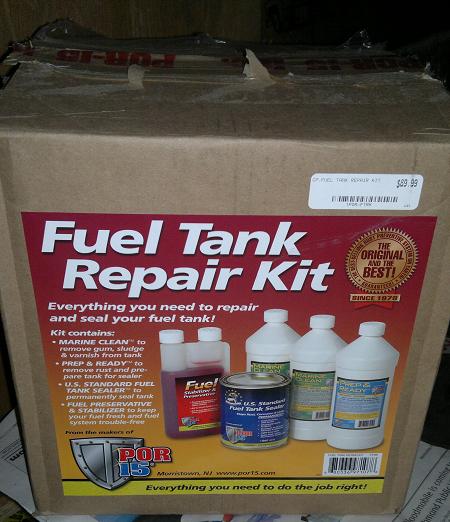
I hope to repair the tank, or better, prepare it to last a few more years using the POR15 Fuel Tank Repair Kit which I just bought:
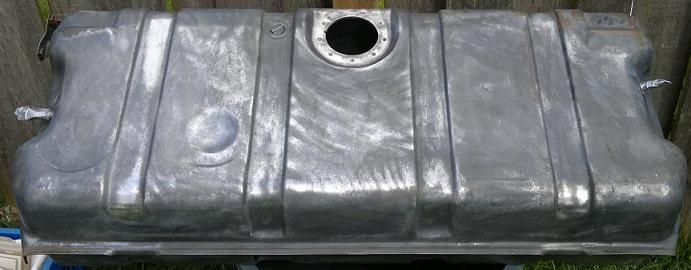
Before I used the fuel tank repair kit I wire brushed the tank. It already looked much nicer after that.
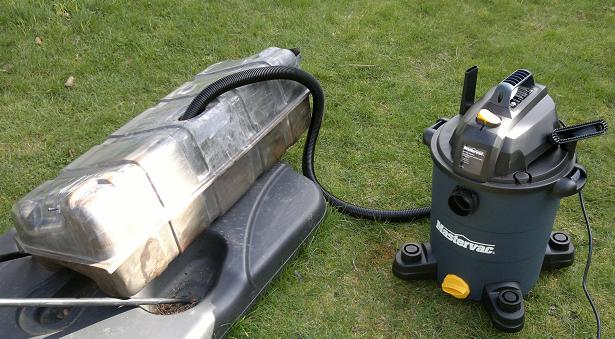
Then I cleaned it from the inside, dried it, and used the repair kit. The pictures below show all that. They also show that I had to shake the tank quite a few times for about 20 minutes each times.
After cleaning it I dried it with my shop vaccuum cleaner that can blow air also
Then I steared the sealer, dripped it into the tank and ...
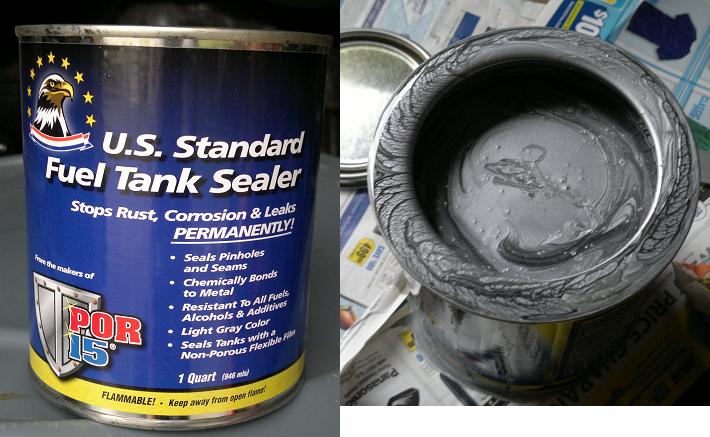
... shook the tank
The next picture shows the repaired tank from the inside. Can you find the spots from before?
Watch out!!: when you fill the sealer into the tank make sure you have found a solution for NOT filling up the connections to the fuel hoses! I have used a straw and pushed it into the holes:
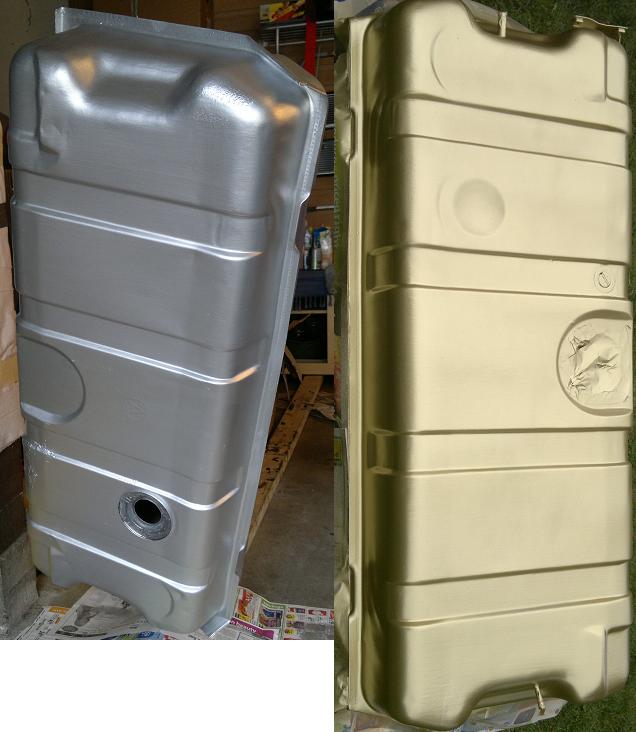
After repairing the inside I took care of the outside. I first painted it with Armor gray anti rust paint,
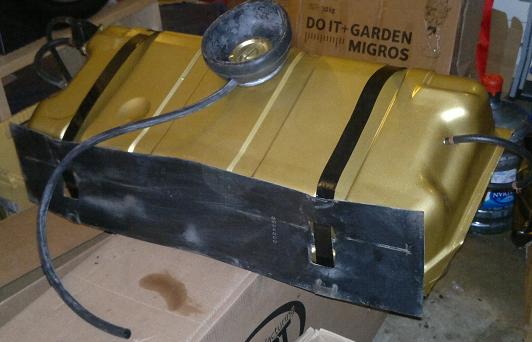
then with Duplicolor gold (an idea of my two sons) and then it got a clear coat.
It may be the only golden-nugget-tank :-)
Finally, with a new cork gasket, the filler cap, new hoses, new overflow neck and repainted gas tank straps it looked really nice
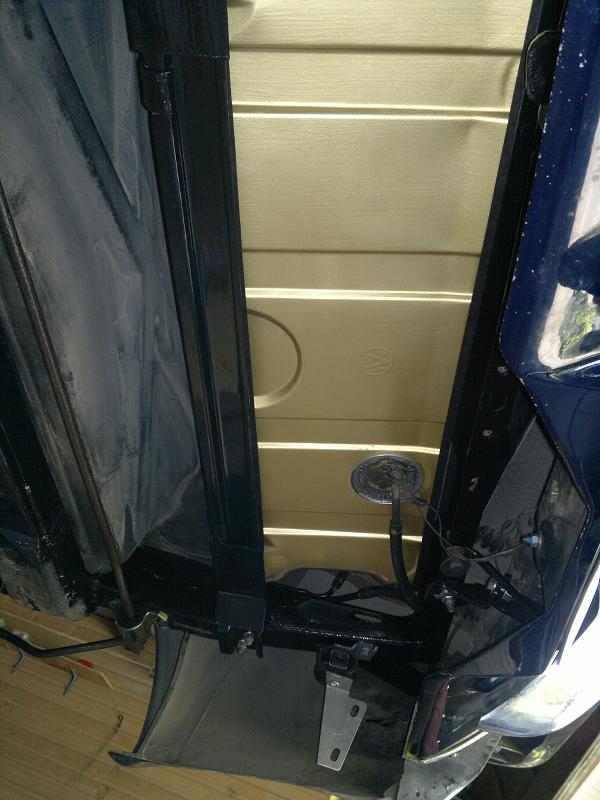
The tank in the car